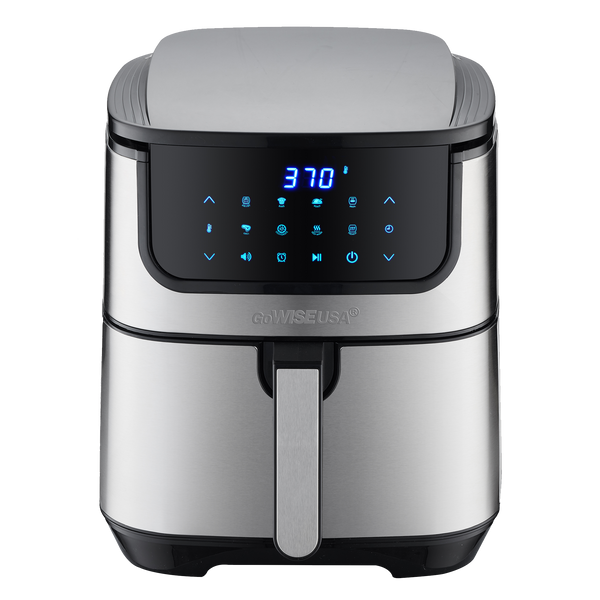
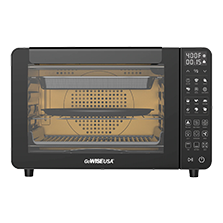


No matter your age, we can all remember how fun Halloween was when you were a kid – getting dressed up, going house to house trick-or-treating, and anticipating the moment you could empty out your bag and see all of your delicious candy! As a parent, however, there is the added worry of ensuring that your children’s candy is both safe and healthy. Well, this Halloween throw that worry out the window and make your own Halloween candy using our products! Our Blenders are great for whipping up creamy mixtures to make chocolate sweet like Snickers and Peanut Butter Cups, Gummy Bears and Saffron-Pear Lollipops. With our Air Fryers and Air Fryer Ovens make a variety of treats such as, Caramel Pecans, Cannoli Bites, Fried Oreos or even Twizzlers if your Air Fryer has a dehydrator setting! Candied Pecans, Caramel Fondue, Cheesecake Bites or even Apple Cider are great sweet options that can be made in our Pressure Cookers. No matter what you decide to make, our products will make the cooking process effortless. Making your own candy options for you or the kids will ensure you know exactly what ingredients are being used and consumed, which also gives you the option to make a little healthier option too! With an easier time in the kitchen, you’ll want to make your kid’s candy every year and not just for Halloween, but for any holiday you want. Follow along below as we show you some of our favorite DIY candy recipes using our products!
Homemade Strawberry Twists

Licorice treats like Twizzlers and Red Vines are a sweet treat dating back more that 150 years. Now you can make this sweet treat at home, minus all the unnecessary corn syrup and sugar! This healthier copycat recipe is extremely easy, with just three ingredients – date paste, strawberries, and a few scoops of collagen peptides. The only other things you need are a piping bag, an Air Fryer Oven with a dehydrator setting, and a little bit of patience. The recipe makes between 12-18 “licorice” pieces, depending on the size of your piping tip.
Ingredients:
5 oz date paste
1.2 oz freeze-dried strawberries
3 scoops collagen peptides (optional)
Directions:
Soak dates for at least 30 minutes, up to eight hours. Drain and use a blender or food processor to blend until smooth.
Combine date paste, strawberries, and collagen powder (if using) into the food processor or blender.
Process the ingredients together until you have a thick fruit paste.
Prep your Air Fryer Oven trays with aluminum foil. We recommend poking small holes on edges to ensure that air can circulate.
Once you have your batter made, you can pipe it out onto trays.
Dehydrate the twists at 125 degrees F for 18-24 hours.
Store in an airtight container. Enjoy!
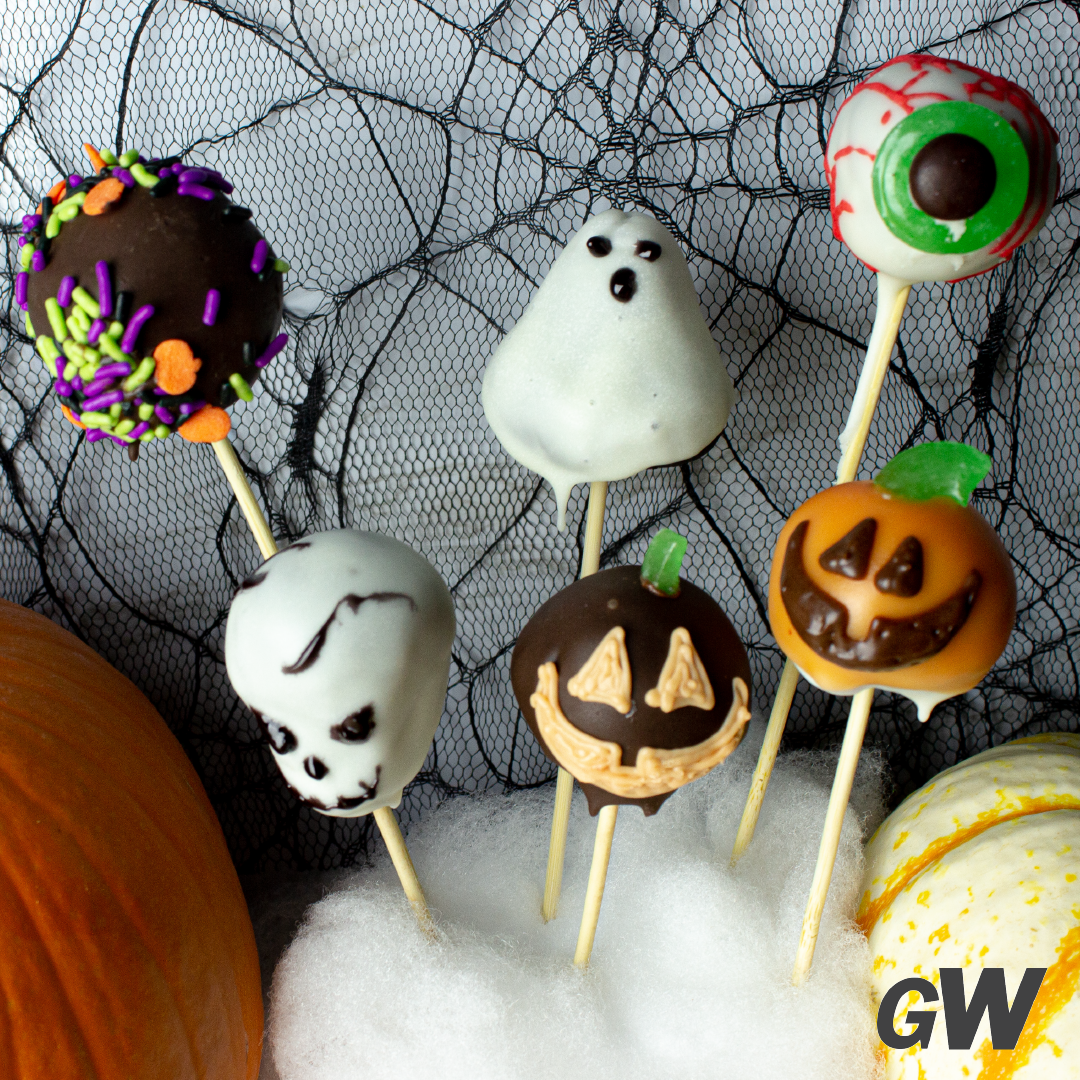
Spooky Cake Pops

These sweet cake pops are so festive and delicious, you’ll be serving them at every holiday party! They are so universal too, you can turn them into a variety of treats, like Egg Pops for Easter, Tree Pops for Christmas or Heart Pops for Valentine’s Day. The imagination doesn’t stop there – switch up the cake entirely and make cinnamon rolls, peppermint brownies or classic vanilla cake! This recipe makes about 45-50 cake pops, the perfect heaping amount for all of your party needs. We recommend using your fingers to crumble the cake, but feel free to use a spoon too. A helpful tip is to be sure to use wax paper to slide the edges across for smoother and defined edges when shaping the candy corns. Remember not to tap the cake pops too hard or the cake balls will fall off when trying to remove excess chocolate. We used the Air Fryer Oven to bake the cake but a regular Air Fryer or traditional oven would be excellent alternatives.
Ingredients:
1 box of cake mix
1 – 16 oz. can of frosting
wax paper
candy melts
lollipop sticks or bamboo skewers
decorating: candy eyes, Halloween sprinkles, life saver candies, M&Ms, edible ink pen, or any of your favorite candies
Directions:
Follow the directions to mix the cake ingredients together and place your prepared cake in an air fryer safe baking pan. Place in the Air Fryer Oven and bake at 350 for 20 minutes.
After the cake is cooked and cooled completely, crumble into a large bowl. Add in half the can of frosting and mix together thoroughly. Then, roll the mixture into your desired shape and place on a wax paper covered cookie sheet.
Place the chocolate melts in a microwave safe bowl and melt per the directions on the package. Then, dip the tip of your lollipop stick/skewer in a little bit of the melted candy coating and insert into the cake balls.
Once all the cake balls are secured onto sticks, place your cake pops into the freezer for 30 minutes to firm up.
Once firm, insert the cake ball; into the chocolate coating by holding the lollipop stick and rotating it until fully covered. Then, tap and rotate the treats until the excess chocolate falls off. Repeat these steps with all cake balls.
Place them in a Styrofoam block to dry. Repeat these steps with all cake balls. If you want to coat the cake balls with sprinkles or jimmies, roll the balls in the sprinkles while the chocolate is still wet.
Decorate your creepy cake balls however you would like! Don’t be afraid of getting creative!
Peanut Chocolate Clusters
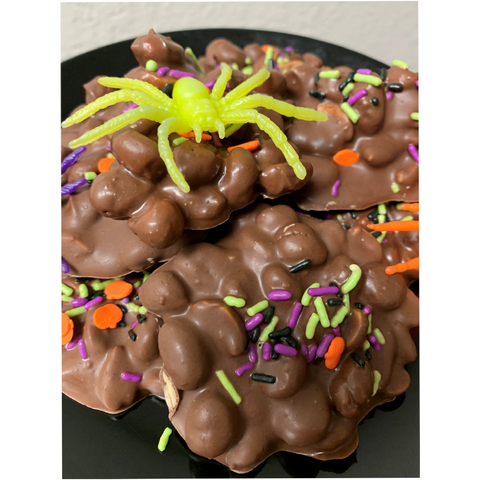
These candy treats are simple because they require few ingredients and are so easy to make. You simply put everything in your Pressure Cooker, set it and voila! We utilized our Pressure Cookers for this, because it was quick to make and didn’t require us to melt the chocolate over the stove or microwave. If you don’t have one of these snazzy appliances yet, you can use a regular slow cooker too. We opted for peanuts but switch up the nuts and use almonds or pecans! If you don’t have almond bark available to you then feel free to replace it with vanilla-flavored chocolate chips! Make sure to cut a piece of parchment paper long enough to hold all of your candy. It is important to ensure when you transfer the candy to the parchment paper, that the candies don’t touch to make sure they don’t stick to each other. We were able to make about 12 dozen of these candies with the 1 tablespoon to measure them out but go ahead and use a smaller or bigger measuring spoon if desired! Sprinkles and crushed candy canes went on the top of ours, however you could also drizzle extra chocolate sauce, dip them in a cream cheese dip or serve with a glass of cold milk!
Ingredients:
34.5 oz. honey roasted and dry roasted peanuts
32 oz. almond bark
12 oz. semisweet chocolate chips
optional garnish: Halloween sprinkles
Directions:
Layer the ingredients in the inner pot of your Pressure Cooker and close the lid.
Cook for 1 hour on low temperature. Do not stir.
After they’ve cooked for 1 hour, stir the mixture thoroughly and cook for an additional hour, stirring every 15-20 minutes.
While you are waiting, line your countertop with a piece of parchment paper. Let the steam release from your Pressure Cooker. Then, use a tablespoon to scoop out the candy from the inner pot and onto the parchment paper.
Top the candy with your favorite garnish and allow to cool completely before serving.
Pumpkin Pie Fruit Leather
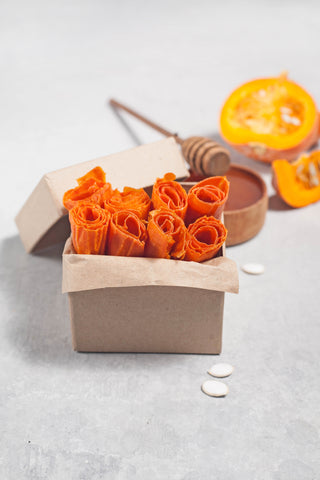
These treats are a great pumpkin pie AND candy alternative if you’re trying to eat a little healthier. You’ll still be able to achieve that crunchy texture and sweet flavoring you get from dessert treats and candies. It’s also a great way to utilize any extra pumpkin you may have! If you aren’t fond of a pumpkin taste, then switch it up and use applesauce puree instead for an apple pie flavor. You could also mix up the fruit to create an entirely different fruit leather, such as strawberry, apricot, apple-cranberry or even apple cinnamon! We utilized the Blender to blend up the mixture into a puree and the Air Fryer Oven to dehydrate the fruit leathers. If you don’t have an Air Fryer Oven yet, then go ahead and use a regular dehydrator. We utilized our baking pan included with the oven, but any air fryer safe baking pan will do. It is important to line the pan with parchment paper or cooking spray to ensure your fruit leathers don’t stick to the bottom and will serve for an easier cleanup too. These are a great snack option in place of sugary candy that can be enjoyed as an afternoon snack or late night dessert!
Ingredients:
2 cups applesauce
½ tsp lemon juice
1 cup pumpkin puree
3 tbsp honey
½ tsp cinnamon
¼ tsp nutmeg
¼ tsp allspice
Directions:
Prep the air fryer safe baking pan with parchment paper or cooking spray.
In a blender, add in the applesauce, pumpkin puree, honey and lemon juice. Blend until well combined.
Add in the seasonings and blend again.
Pour the puree into the prepared baking pan and place in your Air Fryer Oven. Using the dehydrating setting, dehydrate at 130°F for 8 hours.
Once done dehydrating, remove from the Air Fryer Oven. Cut into your desired shapes and enjoy!
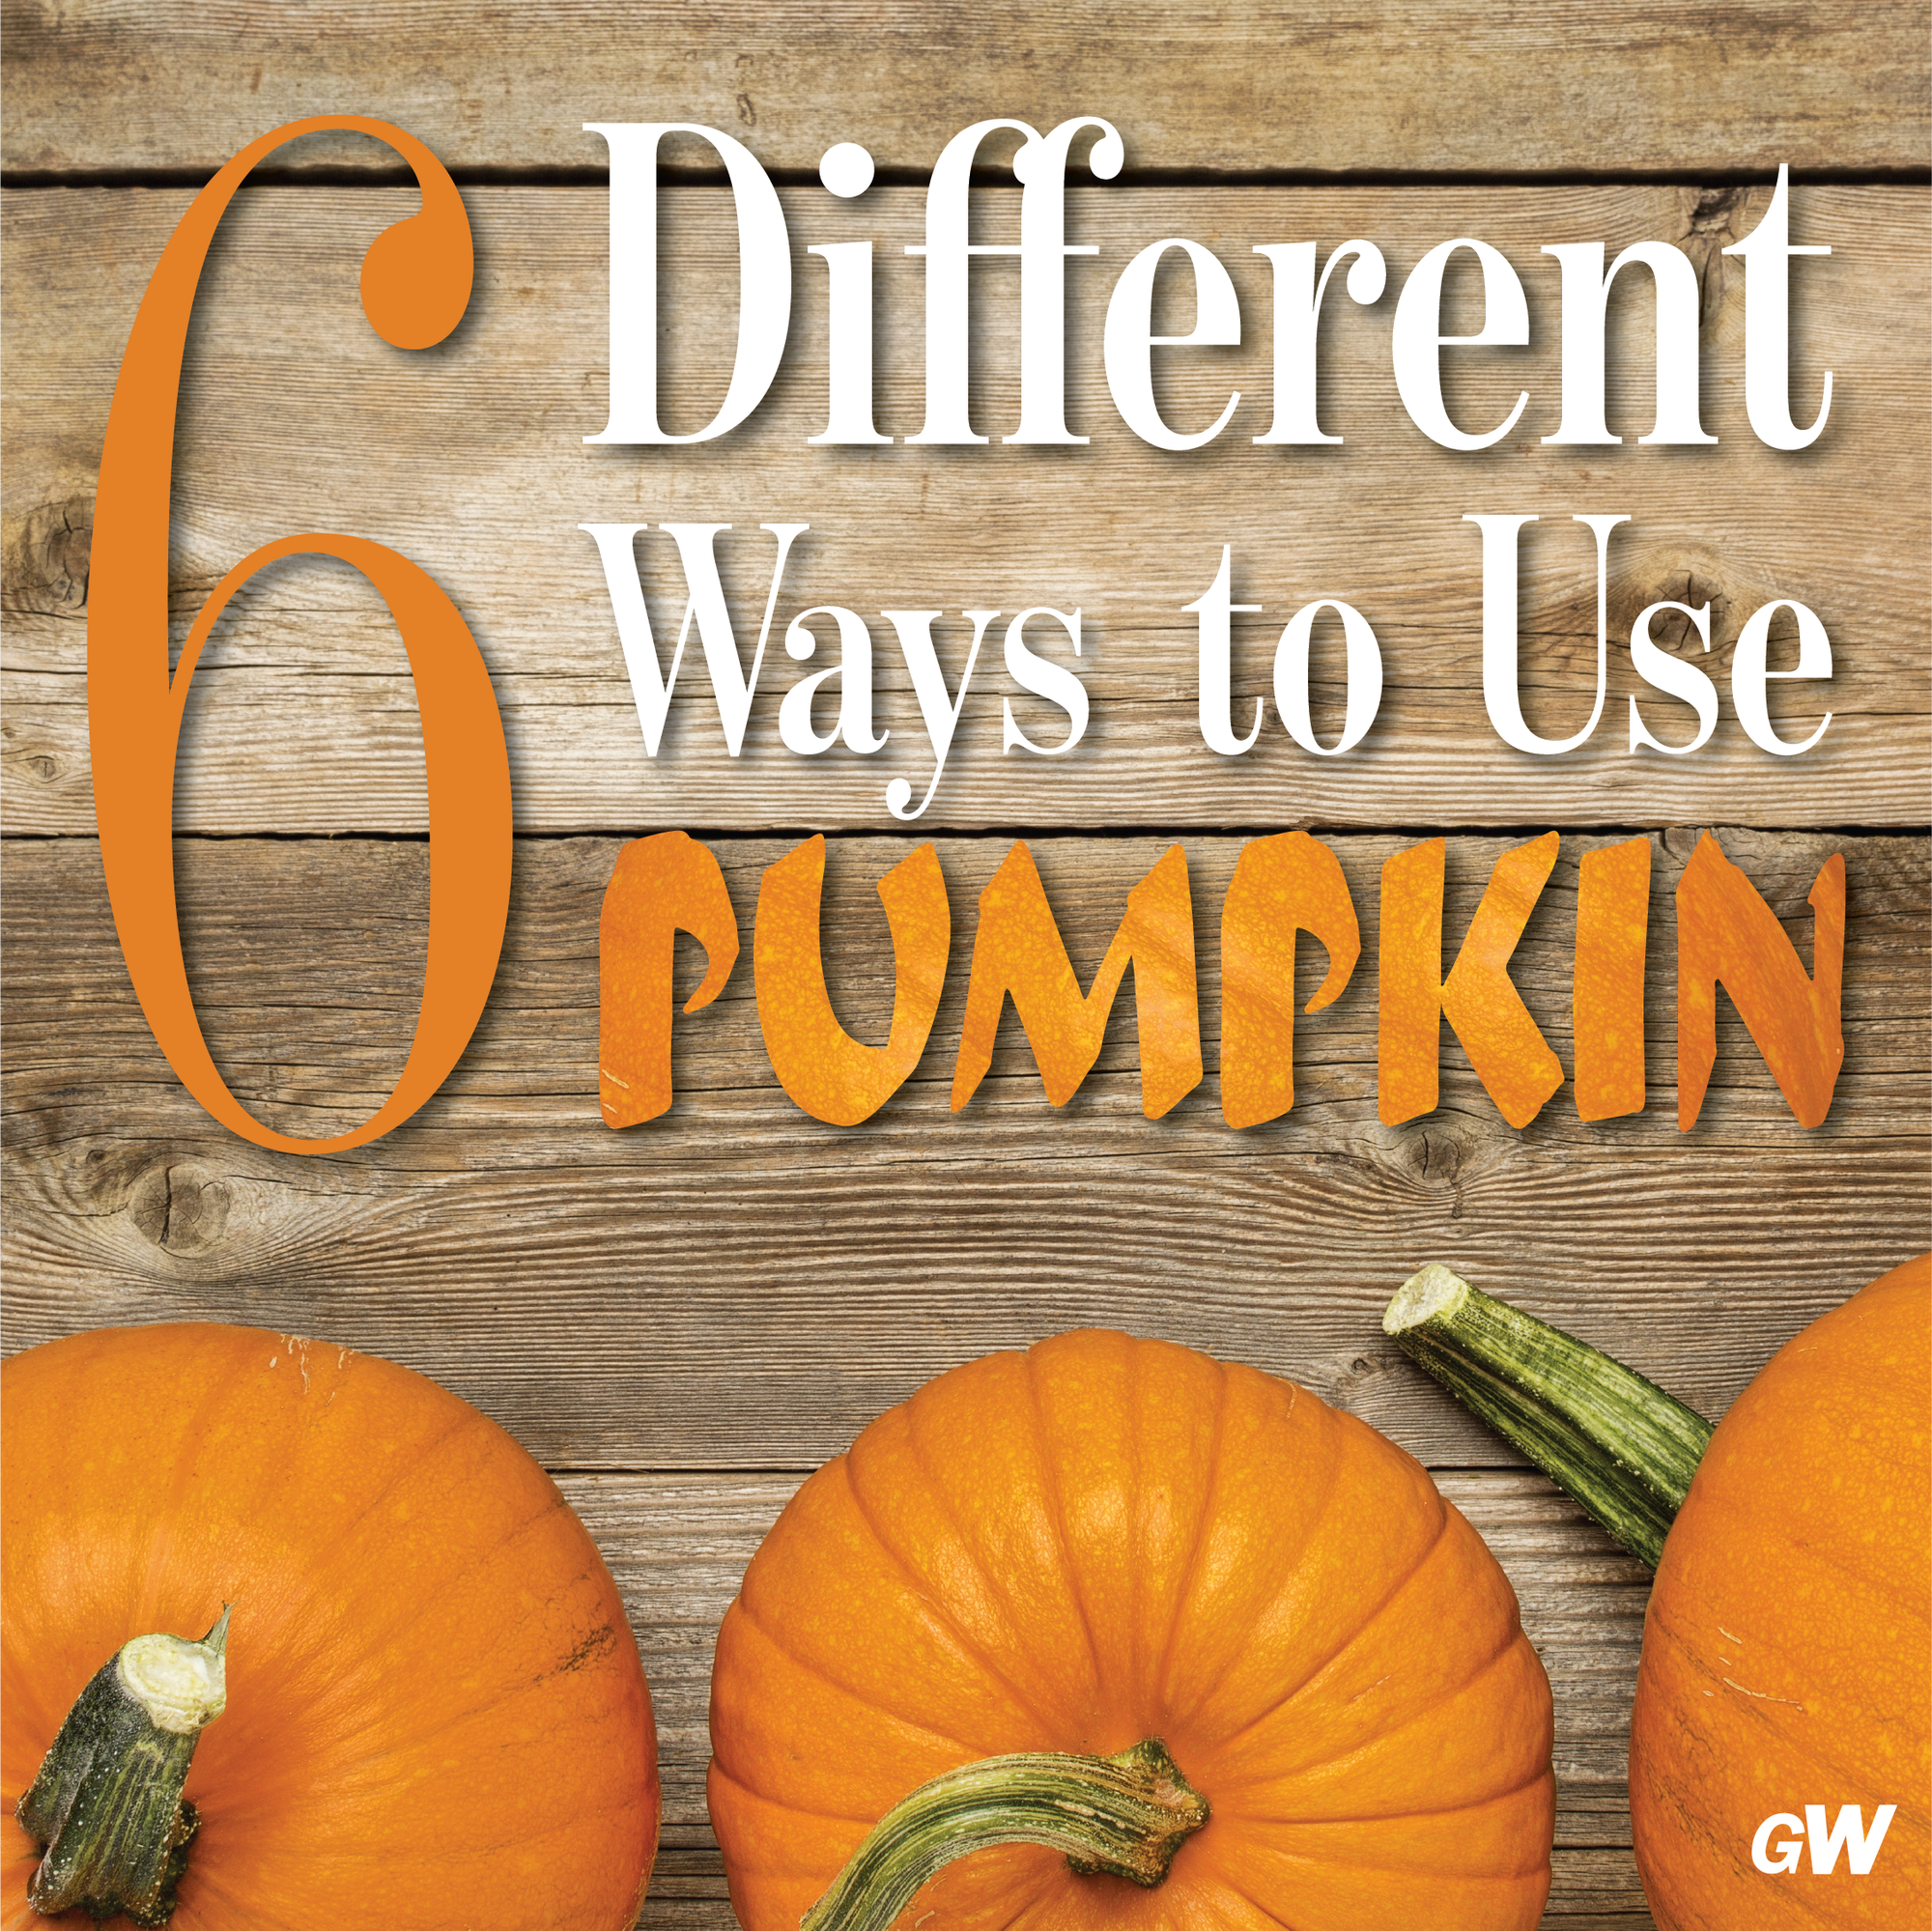
If all of those delicious candy recipes didn’t give you a candy craving, then I don’t know what will! Making your own candy is ideal, because you won’t have a doubt in your mind that what you or your kiddos are eating is unsafe. You’ll also be able to recreate classic candy treats or come up with your own or try something new! If you’re worried about finding the time to whip up any candy recipes, then no need to worry. All of our products are simple to use, will lessen the prep and cooking time AND reduce the number of dishes you have. Not to mention, no matter which product you have or are interested in, they all generally require similar steps. You throw your ingredients in, set it to your preferred preset or time and temperature and wait impatiently until your delicious treat is done! Trying out DIY candy right now is the ideal time with Fall season upon us and Halloween right around the corner. Speaking of Fall, it’s also the time to break out all of your favorite pumpkin recipes. So, if you have leftover pumpkin, then check out our blog post 6 Different Ways to Use Pumpkin to snag some scrumptious and out of the box recipes for this holiday season!
If you need more recipe ideas, enjoy our included recipe book with easy to follow steps and check out another sweet staple of ours, Fried Oreos. This yummy treat puts two of the best things together, Oreos and that “fried” taste. The sweet and melted inside combined with the warm and crispy outside will have you coming back for more – plus you get that fried taste without the added oils and calories!
If you still feel unsure, there are so many outlets out there to help you with tips, tricks and recipes! We also have a YouTube channel and other helpful blog posts to help you get more familiar with your GoWISE USA product and find useful tips and recipes.
We appreciate every one of our customers and hope you found this post helpful with getting more familiar with your GoWISE USA Products. And don’t forget to share your experiences and creations with our products using the #GoWISEUSA on all of our social channels or join our GoWISE Creations community on Facebook.
A big thank you to the authors of the recipes we tested out. Check out the links below to take a look at the original recipes.
https://thecoconutmama.com/homemade-twizzlers/
https://www.bakerella.com/candy-corn-and-spider-web-cake-pops/
https://www.theslowroasteditalian.com/2014/12/crockpot-candy-recipe.html